Showing posts with label Sewing. Show all posts

Monday, March 10, 2014

DIY Nursery Mobile

A million years ago I shared Zahara's nursery with you. My favorite thing about the room, aside from all the bright colors, is that most of the decorations are homemade. From the fabric mobile, to the cardboard "Z," to the Ikea-hacked bookshelves, I love that Zahara is surrounded by things made by the people who love her.


The mobile was a really simple project. It took me a while to do it, but only because I waited until after Zahara was born to begin. All told, you could probably complete this project in a couple of hours if you aren't trying to keep a tiny human alive. 

I found my original inspiration from Pinterest, of course. I tweaked the design to better fit my needs though. I made the ribbons shorter to accommodate the fun string ball I found for a couple of bucks at a thrift store. Dan was the one who recommended (and then implemented) hanging the mobile below the ball using dental floss. So smart!


Here's what you'll need to make you're own mobile:
  • Fabric
  • Ribbon
  • Embroidery hoop (discard the part with the screw)
  • Paint
  • Hot glue gun
  • Heat'n Bond (I used this one)
  • Iron
  • Sewing machine or needle and thread

The first thing I did was paint my embroidery hoop using some purple shiny paint leftover from this project. To paint all the way around the circle, I used needle-nosed pliers to hold the hoop as I painted. I propped it up against the top of a cardboard box to dry.


I wanted my mobile to have six ribbon strings with four fabric circles on each one, for a total of 24 finished circles. That meant I needed enough fabric to make 48 circles, so that each had a front and a back.


I traced 24 circles onto the paper side of the Heat'n Bond using a drinking glass as my template, and cut each circle out. 


I ironed one Heat'n Bond circle onto the wrong side of my fabric. Then I cut the excess fabric to leave a bonded circle. This was one half of my first circle.


I used the drinking glass again to trace and cut another circle from the same fabric. This was the other half of my circle. Repeat for a total of 24 circles.

24 circles: 1 side is plain fabric, the other side is fabric and Heat'n Bond

Next, I cut six equal strips of ribbon, leaving enough extra to attach to the embroidery hoop. I pined the circles where I thought they looked best--roughly symmetrical with the bottoms all aligned.


Once the circles were pinned where I wanted them, I peeled the backing off the Heat'n Bond and ironed the two pieces of the circle together with the ribbon between them. I added a couple stitches to the middle of each circle to keep them in place. I used a sewing machine, but you could hand sew this.

The last step was attaching the ribbon to the embroidery hoop with a hot glue gun. I just made a little loop and glued the ribbon to itself.


It sounds more complicated than it was. It is a pretty easy project that makes a huge impact. I love it, and more importantly, so does Zahara! She loves looking at the bright colors and the way the fabric moves.


Wednesday, July 10, 2013

Cushion Nightmare: Worst DIY Project Ever

As a DIY-lover, I know that most projects will have some unexpected twist; the project will take twice as long, will cost twice as much, or will be twice as difficult as I planned. And it is generally fine because the joy that I get out doing the project makes it worthwhile. Every now and then there is a project that you wish you never started. Have a seat and let me tell you about the tale of my outdoor furniture.

Last year I saw a classified ad for really cheap outdoor furniture. Someone was leaving town and couldn't take them with her. She was selling two oversized chairs and one large metal bench for only $20! Can you believe it? So cheap! The only catch was that they didn't come with any cushions. The ones she had previously were so moldy that she didn't want to include them in the sale. No problem though. How hard can making cushions be, right? WRONG!


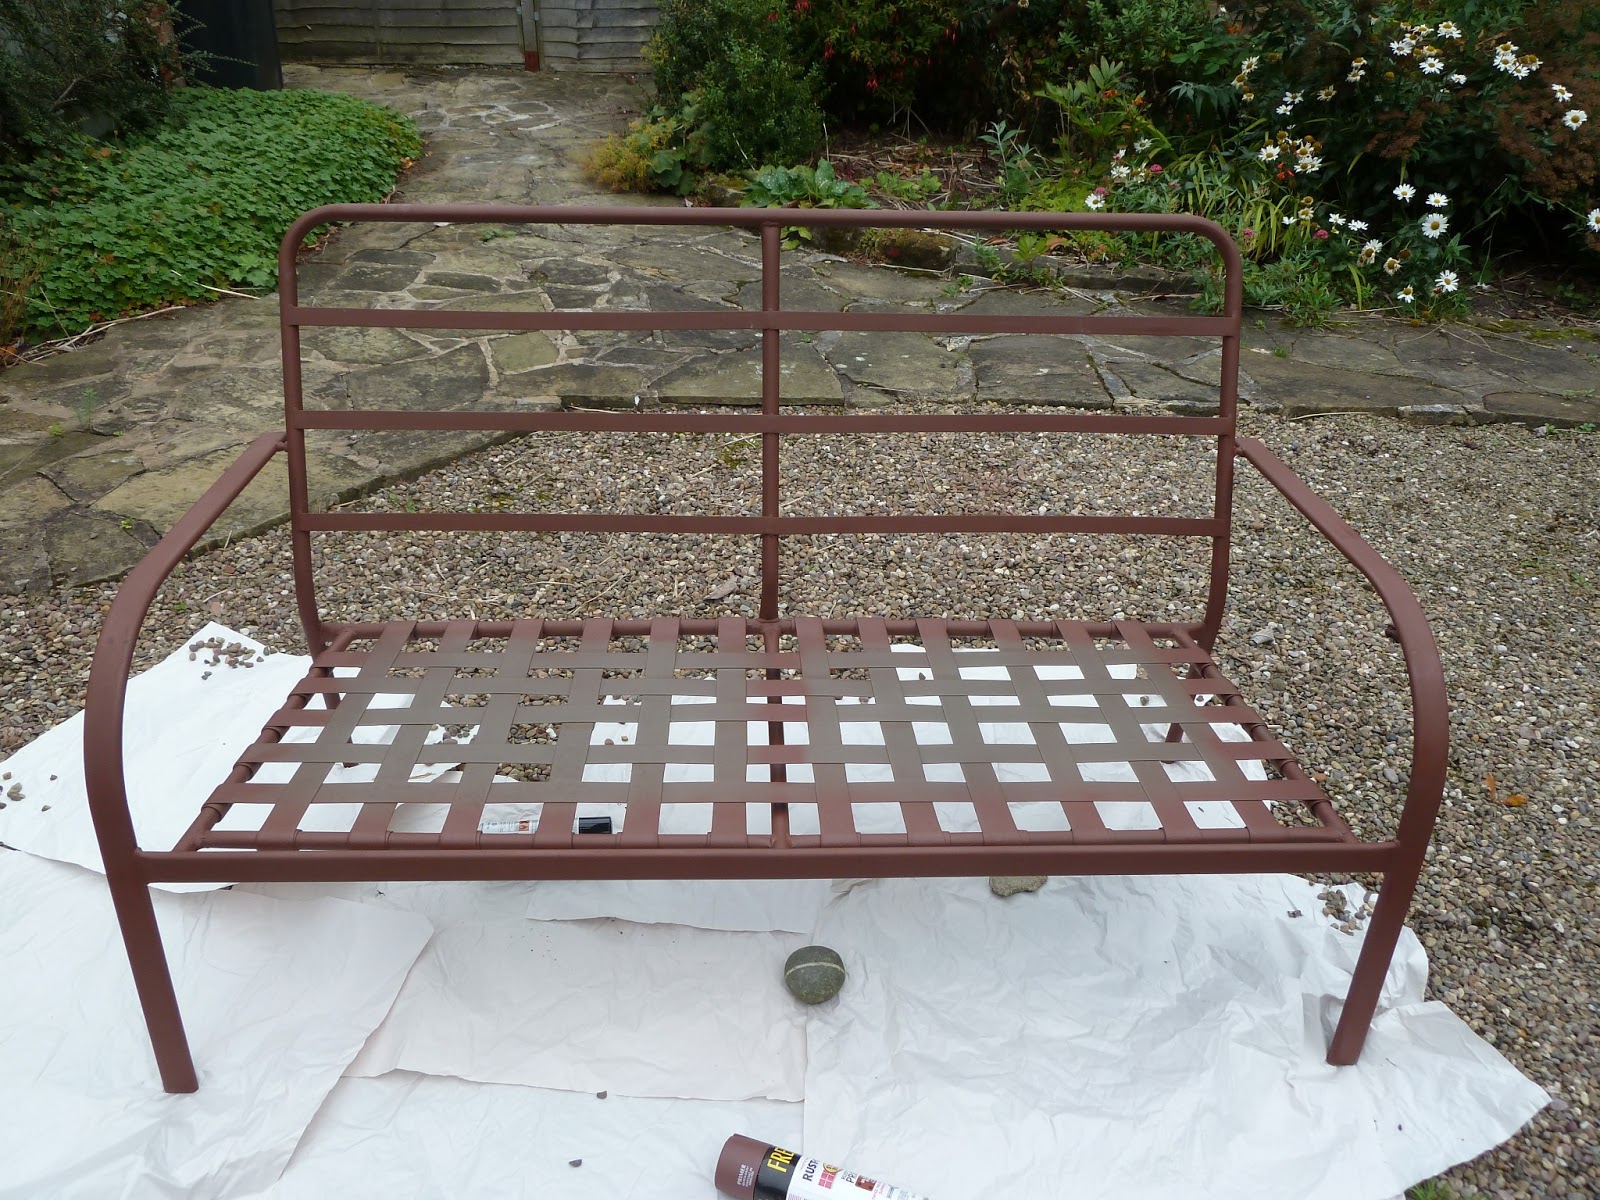
To be fair, these chairs were an excellent deal. They're in great condition; after a light sanding and a couple of coats of rust-blockimg primer and shiny black spray paint they looked good as new. And there they sat, naked, for the next year.


At some point I realized that I actually need to get on the cushion-making process if I ever planned to use these chairs. I thought about buying cushions, but honestly I couldn't find anything reasonably priced that I liked. I had no idea cushions were so expensive! Especially since these chairs are huge. So, I started looking for tutorials and materials to make my own.

Harrogate is not the best place for crafting. It's really hard to get materials, so I do most of my shopping online. I searched high and low for the best prices, but even so I was shocked by how expensive the raw materials were. No wonder finished cushions are pricey. The foam alone cost me almost $100!!

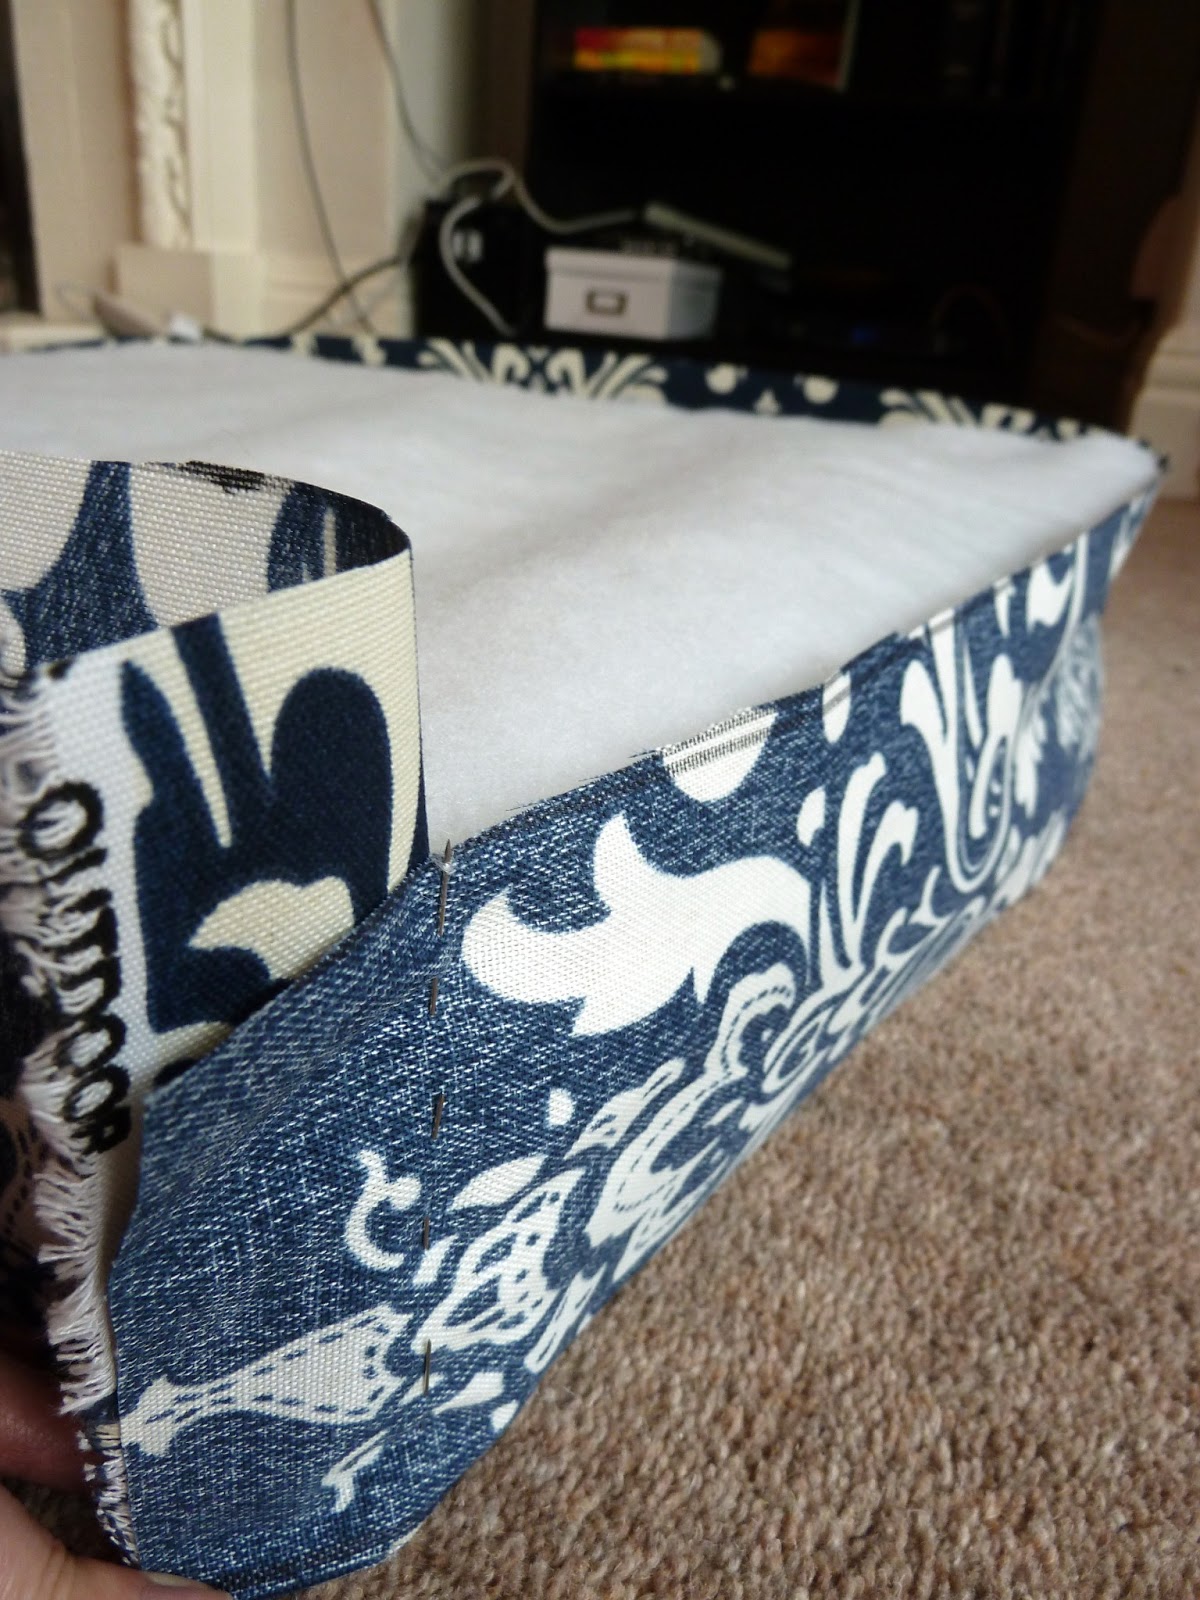
It took me forever to amass all of my supplies. Then it took me even longer to work up the courage to actually start making the cushions. Everything was just so expensive and the tutorial was so complicated. I had my S.O.S. friend Nick try out a different tutorial for me when making a cushion for another friend. Though his final product was great, the effort nearly killed him. After watching him struggle for months over this stupid cushion, I decided to try a different tutorial. I landed on this one from Pretty Handy Girl. Though it got me there in the end, I would not recommend using it yourself. The directions were hard to follow and missed key steps. Perhaps if you are a more advanced seamstress you can fill in the blanks yourself, but for a novice this was way too hard.

I enlisted Dan's help on this when I realized that I was in over my head. Between the two of us we managed to cobble the cushions together, and they actually look pretty good. Not professional, but not too "home-made" either.

Even Zuzu helped


Making the sides


Adding piping


In retrospect, I really needed to make double as many cushions so that I'd have both a seat and a back for each chair and bench. I realized my mistake too late though and there was no way I was starting again with ordering more supplies and making more cushions. Luckily IKEA had some navy cushions that worked well for the chairs (where were they when I did my initial cushion search?!), so we snagged two of those, I still don't have anything for the back of the bench though.


Needless to say, I am thrilled that the project is (mostly) complete. I have a feeling these will become family heirlooms--if only to justify the effort!


Monday, May 20, 2013

DIY Fabric Tea Bags

Even after digging through my scrap pile to make my USA map, I still had a lot of little scraps of fabric leftover. While browsing Pinterest one day, I came upon the idea of making fabric tea bags. I am a huge sucker for anything in miniature and I absolutely love tea parties. Several of my good friends have little girls whom I love to spoil, so this was a perfect fit!

DIY fabric tea bag

Making the tea bags is really easy but a bit time consuming depending on how many you make. Somehow I turned myself into a little tea bag factory and made a ton at once. This is a really quick project if you're only making a few though.

The first thing I did was grab a bunch of fabric scraps and a tea bag. I folded each fabric in half with the right sides facing each other. Using the tea bag as a template, I traced both the bag itself and the little tag on to my fabric.


Then I cut out each bag and label. Each one should have two pieces (a front and a back). Keep the pieces together, still right sides facing each other, and sew three sides leaving the top open. This is similar to how you'd make an unlined bag.

Three sides sewn, top left open

Next, flip the tea bags inside out. Since these are so small, it gets a bit tricky. I used my seam ripper to help push the corners in. With the bags right sides out, I added a bit of filling to give it a more realistic feel. I used pearl barley, but in retrospect I probably should have used something like cotton stuffing or some other material that can get wet. But I've seen other people make heat pads out of pearl barley so it should be fine. Put in as much stuffing as you like. I only used a little bit to mimic the feel of a real tea bag.

Once I filled my bags, I cut a piece of twine and put one end inside my bag. Then I sewed that end closed.


I grabbed my two label pieces and flipped them so they are right-side out. Then I stuffed the other end of the twine in between labels and sewed all four sides. This should leave the twine securely fastened between the bag and the label.


And that's it! You've got an adorable tea party waiting to happen. Add a tray and a tin to keep your bags in if you're feeling fancy. I hope my little girl friends love these as much as I do.


Also, thanks to everyone who took my reader survey for my 300th post. There's still time if you haven't completed it yet. It only takes a second and I'd really love to hear from you! Click here to take part.

Tuesday, April 2, 2013

DIY Snack Bags

Perhaps this puts me on the wrong side of crazy, but I absolutely love my new homemade snack bags. It's OK if you want to make fun of me. My family is already giving me plenty of grief. I have to say though, this might be one of my favorite projects so far. They're just so cute and practical! I'm already planning to make a bunch more.

DIY snack bags

I first got the idea from Pinterest, of course. Dan and I go through a ridiculous amount of ziplock sandwich bags since we make our own lunches every day. We usually use around two or three each for things like cut veggies; cheese and crackers; and nuts and raisins. I was sick of all the waste and these bags from Owen's Olivia seemed like the perfect solution.

[source]

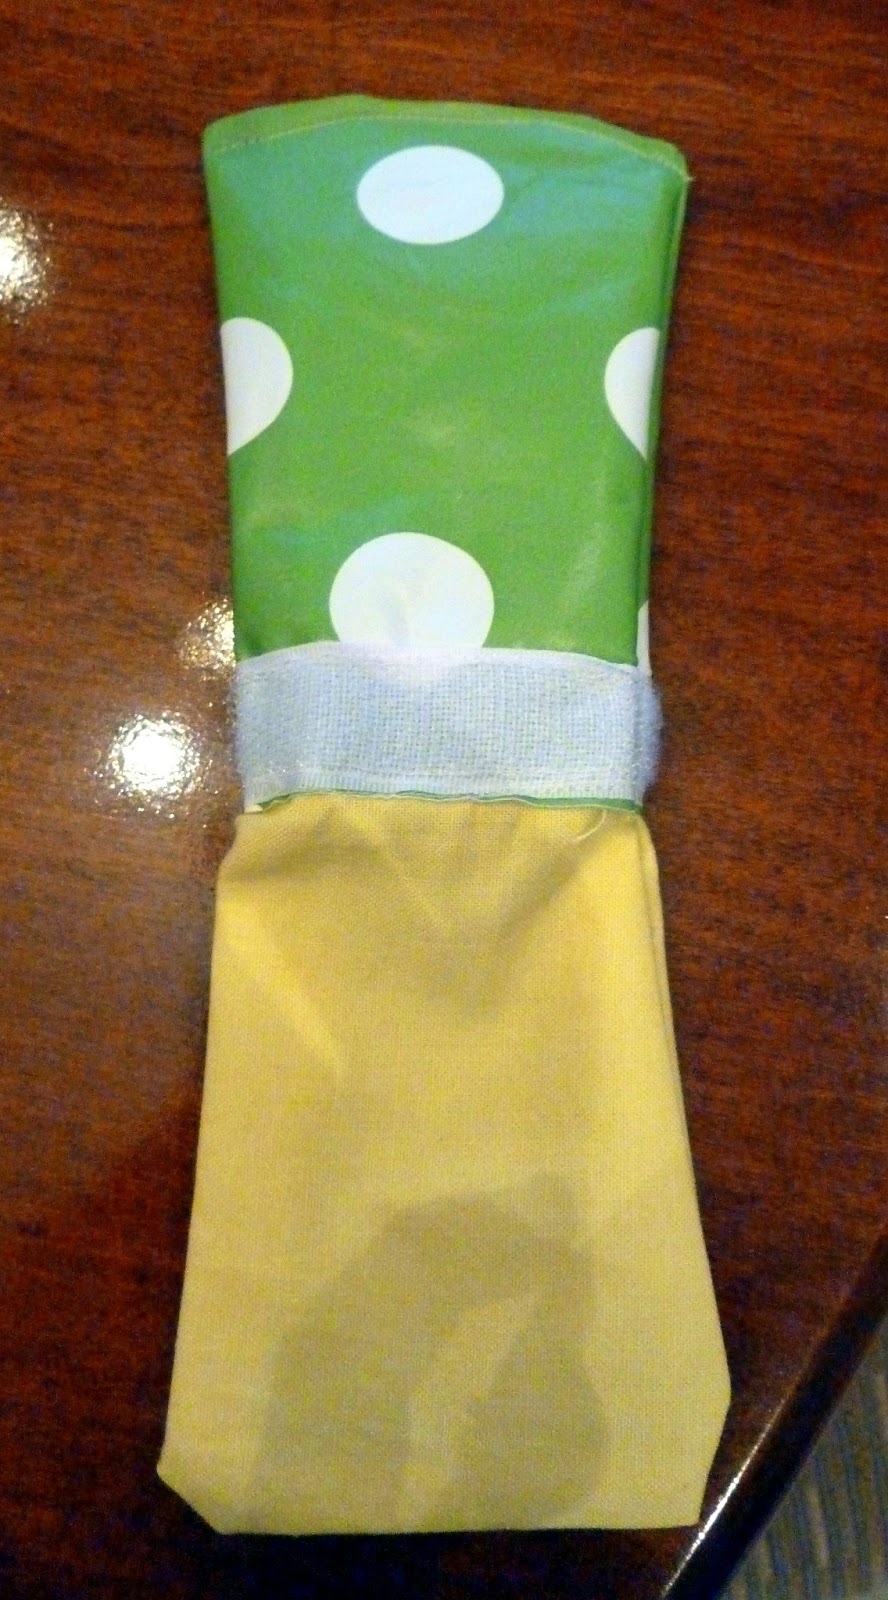
My first step to making my own bags was to pick out the fabric. I decided to stray a bit from the tutorial and use vinyl for the inside lining. That way I could put in messier items (like veggies) and not worry about staining or bleeding through. I am really happy with my choice, but it did make the bags a bit harder to make than if it were just fabric. I also used a fairly stiff linen for the outside. The combination of fabrics meant that I didn't need to use interfacing.

Linen and vinyl

I prewashed and ironed the linen fabric. Then, using a sandwich bag as a template, I cut one piece of the linen and one piece of vinyl, doubling the width of each (you'll fold them in half to create the bag).

I cut a piece of sew-in velcro to half the width of my fabric; since the bags will be folded in half, these pieces will join to seal the bag. Then I sewed one of each side (hooks and eyes) half an inch from the top of vinyl. I created a 1/4 hem on a long edge of the linen. When the sides are eventually joined, this will create a finished look for the top of the bag.


From here on out, it's pretty much just like making a regular bag (see my lined bag tutorial). Place the two fabrics right sides together, and sew across the edge with the velcro and hem.


Then I forgot to take any more pictures while making this bag, so we'll pick it up with the second set of bags I made. Everything's the same but the outer fabric is yellow instead of blue. Fold the fabric in half vertically and sew three edges, leaving the top of the vinyl open.


Flip the whole thing inside out so the right sides of the fabric are now showing. Then sew the vinyl edge closed.


This is where it gets a bit hard with the vinyl, but shove the vinyl lining inside the linen so the velcro part is now at the top of the bag.


These bags are totally customizable--make them in a variety of sizes to fit your needs. And, the best part is that they're machine washable! I throw them in a delicates bag and right into the wash. I've already washed them a few times and they're holding up great. They work just as well as ziplock bags and are way cuter :)


Friday, November 23, 2012

DIY Burlap Table Runner

Well, I'm a day late and a dollar short, but happy belated Thanksgiving!! I love this holiday so much. I mean, what's not to love? It's a whole day devoted to food, family and friends.
Dan and I, along with our friends Katie and Jon, hosted Thanksgiving dinner for 25. It was a lot of work, but totally worth the effort. I'll write a more detailed post on the party details next week.

In the meantime, here's a how-to for a simple table runner. This project is really easy--anyone can do it! I bought a few yards of burlap and cut it to size. I went with around 8 feet long by 2 feet wide. I should have made it longer, but that was all the burlap I had. Use what you've got, people.


Burlap

Then I pinned and sewed a 1/2 inch hem on each long side. I wanted it to look finished from the back too, so after I hemmed it the first time, I folded it over to hem it again. I used a burnt orange color to give it a "fall" feel.

Hemmed once

Pinning to finish hem

Once the long sides were finished, I moved on to the short sides. I wanted to make a pointed edge like this one:

[source]

To do that, I folded the short edge into a triangle and pinned each of the sides down with a 1/2 hem.


I ran the hem through my sewing machine, which left me with a large triangular piece of excess fabric.


I cut off the excess and then hemmed it one more time like I did for the long sides. Now the hem is finished all the way around.

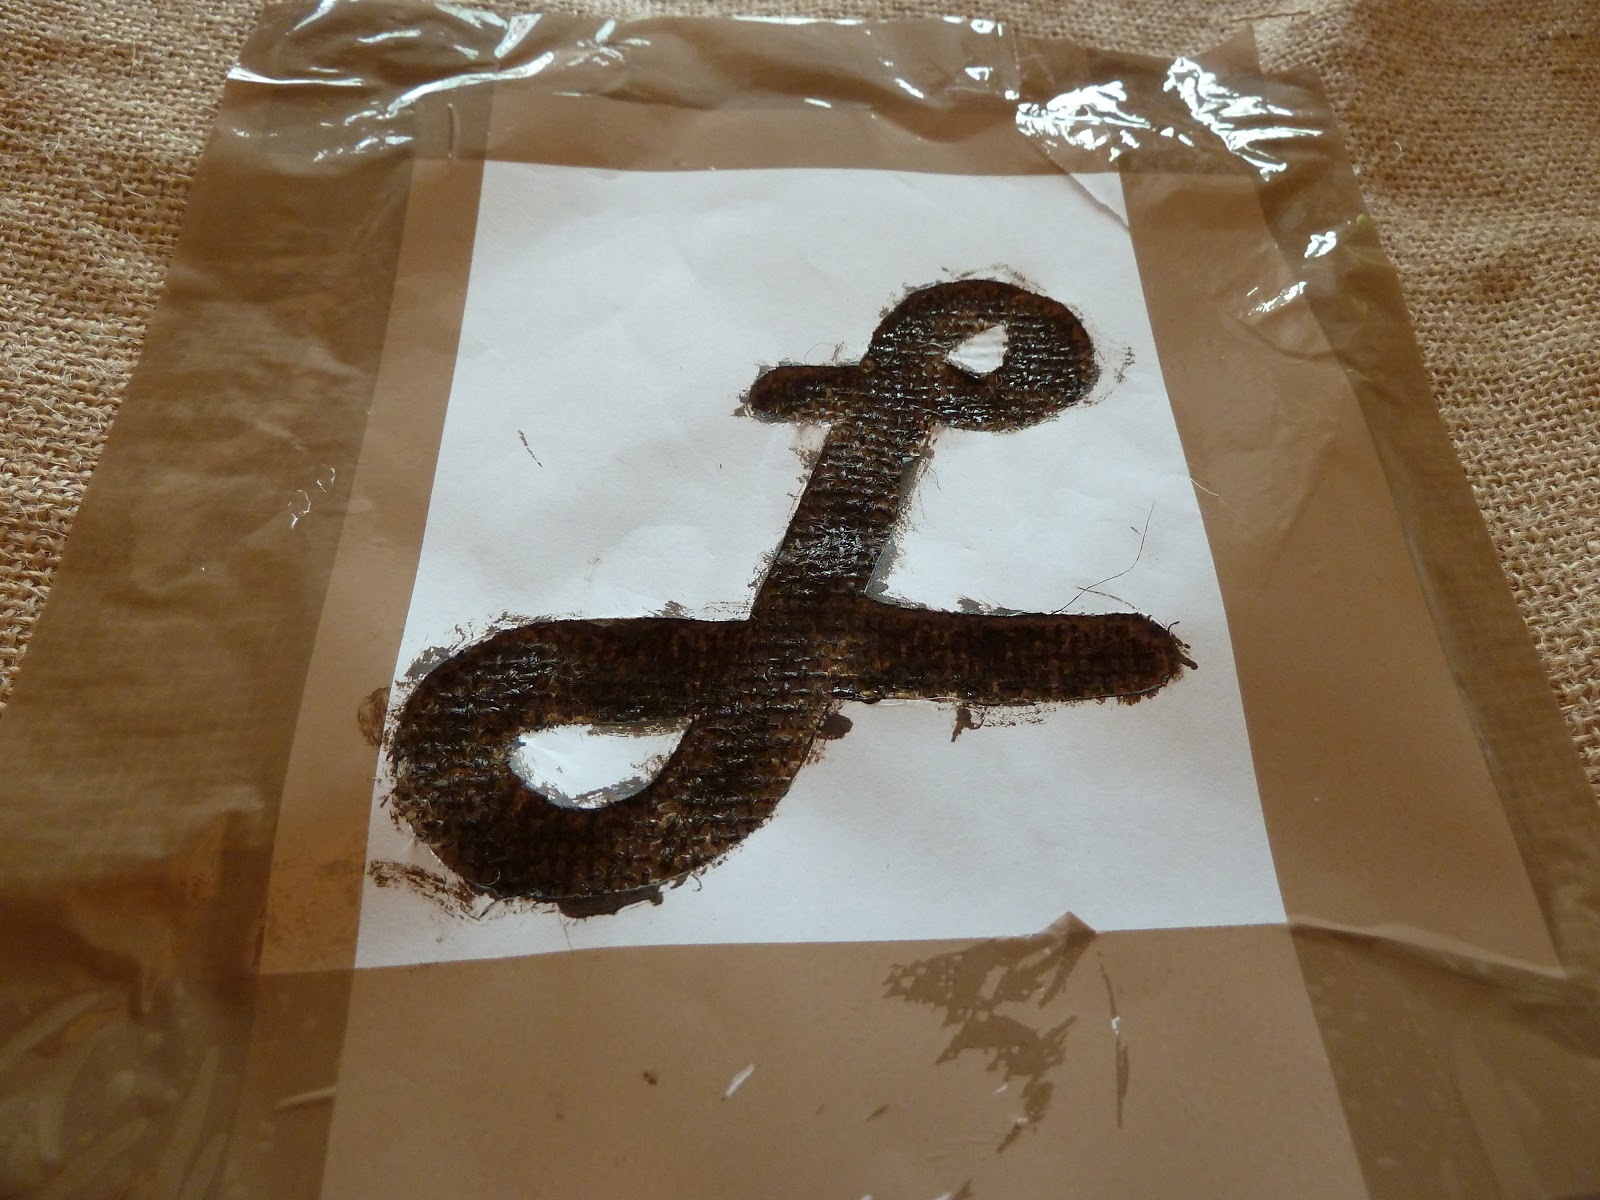
I stenciled the two ends of my runner to give it a more polished look. I tried to buy a stencil, but I couldn't find one that I liked. Instead, I took inspiration from Katie's silhouette project and made my own. This was much easier than I thought it would be. I simply went into Microsoft Word, found a pretty font and printed an "L" for my last name. I used Harlow Solid Italic in 300 point font.


I used an x-acto knife to cut out the black portion of the paper. I cut out the two loops in the top and bottom of the L separately and taped those back in place once I positioned my stencil on the burlap. I used masking tape to hold it all in place. It worked great!


I smoothed down the stencil making sure that the paper was as flat as I could get it so that my lines would be clean. I used acrylic paint and a fine paint brush to paint a thin, even coat.


While the paint was still wet, I peeled the stencil off the burlap and was left with this:


I can't believe how perfectly it turned out! I loved it immediately.

I did the same thing to the other side of the runner. Once everything was dry, my DIY runner was good to go. Here it is all gussied up and ready for the party.


I hope you had a wonderful Thanksgiving. I know I did!