Wednesday, November 14, 2012

Spa Day With Sarah

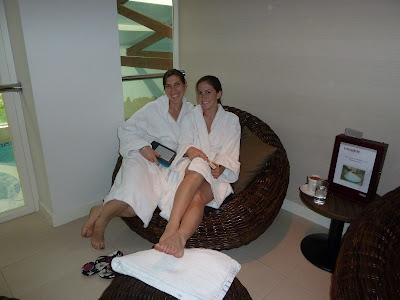
Months ago my friend Sarah and I bought a Travelzoo coupon for a spa day for two at The Dower House Imagine Spa. We had a lot of trouble scheduling the actual appointment though, so it wasn't until the last week of October that we were finally able to go.


While the experience was nice, everything was just a little bit off. It first started when we tried to order lunch. They had a soup and sandwich combo on the menu, but it was for cold sandwiches only. I asked if I could upgrade to a hot sandwich and they said it was impossible. No one in their entire history had ever asked for that. It just couldn't be done. So I settled for a Salmon Nicoise salad. Too bad they forgot the hard-boiled egg. When I asked for it, they told me the chef forgot but would bring it to me. I'm still waiting.


Next we tried to figure out which treatment we were going to get, but the menu was so confusing! There were at least ten different pages of options, and Sarah's menu was completely different than mine! We finally decided though: I got the deep-tissue massage and Sarah got the hot stone massage.

First though we had to check out the Water, Fire and Ice Experience.


Unfortunately, this was kind of a disappointment. I was most excited about the foot spa they advertised. But it turned out to be a cold foot bath. The hot tub wasn't hot either.

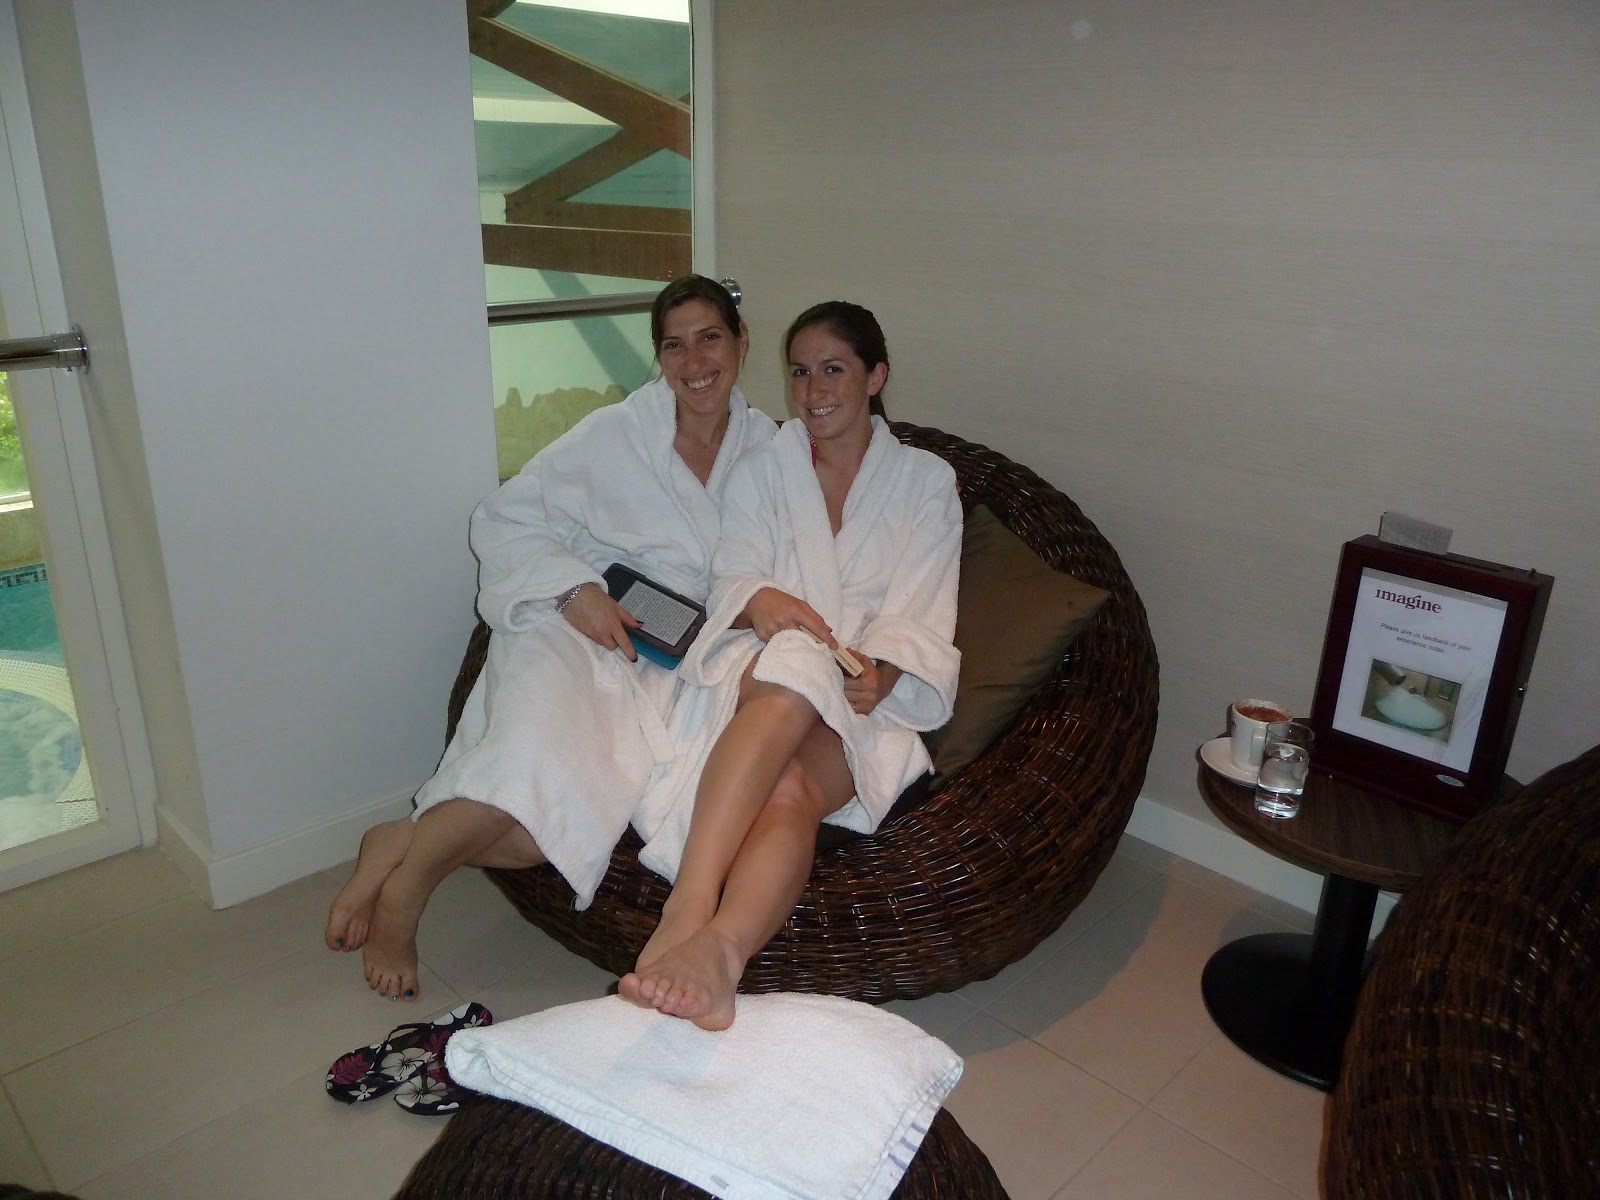
The only redeeming part of the spa experience was their relaxation room. It was very relaxing. And they gave us free hot chocolate.


The massage itself was good. Nothing spectacular, but it was nice. I know I sound a bit like a debbie downer here, but when you compare this spa day to my last one, it isn't even in the same league. And yes, I realize how pretentious that makes me sound.

Overall, I really enjoyed spending the day with Sarah. We shared a few laughs and made some new memories. That's all I really wanted anyway.

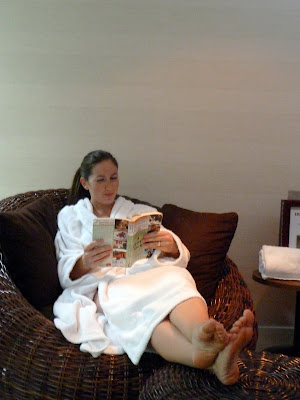
**Update: Hilarious story about this spa day--I was pregnant and couldn't even get the massage! I had to pretend that I did! I was only 7 weeks pregnant and not ready to share the news yet, so I literally sat on a massage bed reading for an hour, pretending to get a massage while Sarah was in the next room actually getting one. Ha! Even more hilarious is that it turns out Sarah was also pregnant but didn't know it yet! She's only three weeks behind me. So funny!

Tuesday, November 13, 2012

Chocolate Pumpkin Torte

Hello, everyone! I'm back from Florida and am sorting through my pictures now. I can't wait to tell you all about my fantastic trip. In the meantime, a little thing called Thanksgiving is coming up next week. Side note: where has this year gone?? How is it already mid-November?? 

As I've already mentioned, I love this time of year. There's a crispness in the air that makes you want to bundle up and eat good food. When I saw this recipe for a chocolate pumpkin torte, I knew I had to make it. It combines so many of my favorite fall things: pumpkin, chocolate, and cake! I made this for a Halloween party, but I think it would work just as well for Thanksgiving. 

[Source]

This torte was kind of a pain to make. People were raving about the final product, so maybe it was worth it? If you're going to make it though, just know in advance that it's fussy.

My first mistake in making this cake was not really understanding the shape of the cake. I thought I'd be cutting it in half horizontally, but you're supposed to cut it vertically. That would have made life so much easier. If I make this cake again, I'll definitely do it in a jelly roll rather than a cake pan.

Also, there's a lot of chilling time with this cake. Avoid unnecessary down time by making the pumpkin filling while the cake is baking and the ganache while the assembled cake is chilling.

Chocolate Pumpkin Torte
Recipe adapted slightly from here

Ingredients:
Cake
  • 4 eggs, separated
  • 1/2 cup sugar
  • 1/2 cup all purpose flour
  • 1/3 cup unsweetened cocoa
  • 1/4 cup sugar
  • 1/2 teaspoon baking soda
  • 1/4 teaspoon salt
  • 1/3 cup water
  • 1 teaspoon vanilla
  • 1 tablespoon sugar
Pumpkin Filling
  • 1 cup canned pumpkin
  • 1/4 cup all purpose flour
  • 1/3 cup plus 3 tablespoons butter, softened
  • 1 teaspoon cinnamon
  • 1/4 teaspoon nutmeg
  • 1 3/4 cups powdered  sugar [I used my blender to turn regular sugar into powdered sugar]
Chocolate Ganache Glaze
  • 8 oz semisweet chocolate, chopped [I used chips]
  • 5 oz evaporated milk
  • 1 tablespoon butter
  • 1 teaspoon vanilla
  • toasted nuts for garnish [I used walnuts]
Directions:
Make the cake:
  1. Preheat the oven to 375°F. Prepare a jelly roll pan (15 1/2" x 10 1/2" x 1") by lining it with parchment paper. Lightly coat the covered surface and sides with baking spray and set aside. [Note: my easy-bake oven can't fit a pan of that size, so I decided to use a round cake pan instead. I just doubled the recipe and made two cakes, cutting each in half to give me four layers.]
  2. In the bowl of an electric mixer, beat the egg yolks on medium speed for about two minutes. Add 1/2 cup sugar and continue to beat until the eggs are light in color, about two minutes more. In a separate bowl, whisk together the flour, cocoa, 1/4 cup sugar, baking soda and salt. Stir the vanilla into the water. Add the cocoa mixture to the eggs, alternating with the vanilla water on low speed until the batter is smooth.
  3. In a separate bowl, beat the egg whites until they are foamy. Add 1 tablespoon of sugar and continue to beat until stiff peaks form. Fold gently into the batter.
  4. Spread the batter evenly into the jelly roll pan and bake for about 14 minutes. The cake should spring back at the touch. [My cake pans each took around 45 minutes to cook.] Invert the pan on a lightly dampened towel and remove the liner. Cool the cake completely.
Make the Pumpkin Filling (while the cake is baking):
  1. Combine the pumpkin and flour into a small sauce pan and cook over medium heat. Stir constantly until the mixture begins to bubble and boil. [Mine never really boiled. I cooked it for around 6 minutes and then took it off the heat.] Remove from heat and cool completely.
  2. Combine the butter, cinnamon and nutmeg, beating well. Add the sugar and continue beating until it is light and fluffy. Add the pumpkin mixture and combine well. Chill for at least 15 minutes.
Assemble the Cake:
  1. Cut the cake into four even pieces, crosswise. [I didn't do this, but wish I had. Doing it this way means you don't have to cut the cake in half horizontally.] Place one piece on a serving dish and spread about 3/4 cup of the pumpkin filling on top. Continue with the next layer and the filling, ending with a cake layer. Chill the cake.
Make the Chocolate Ganache (while cake is chilling):
  1. In a small sauce pan, combine the chocolate chips, evaporated milk and butter over low heat, stirring constantly. When the chocolate is melted and smooth, remove from heat and stir in vanilla. Let it cool until it is lukewarm. 
  2. Spoon the ganache on top of the chilled cake, letting it drizzle slightly over the sides. 
  3. Add a few toasted nuts to the top of the cake as garnish. Chill the cake about 30 minutes before serving. 


Thursday, November 8, 2012

Guest Post: Running... or Something Like It, Part 2

While I'm in Florida not exercising at all, Rachel's here to tell us about how she's completely transformed into an actual runner!  

It has been a while since my last post on Calli’s blog, but she asked me to write a quick follow up on my last blog post which you can see here.

The last time I was here, the longest run I had completed was around five miles. I am happy to say that since then, I have completed two half marathons! I am more of a tortoise than a hare, but I am over the moon about the progress I have made since day one.  

My first race was the Great North Run, it is a half-marathon in Newcastle and is one of the largest half marathons in the world.  Katie, Karen, and I participated, and we all started the race together.  Karen had to sneak back to Katie and my starting section. She is super-speedy and had been placed with a quicker group. I was amazed when I looked around and saw many people of varying ages, sizes, and fitness levels. We were all there for one cause... to finish the race. There was a lady named Gladys who started with us. She was 81 years old, and she finished in style. Like I said, if I can do this, anyone can! At the start line, it was raining, but we all felt excited for the start of the race. Because there were so many entrants, our group started nearly an hour after  the elite runners.

Since we were all running our own race: Katie, Karen, and I separated not long after the start.  Along the route, I saw people in costumes (Shrek, a Jamaican Bobsled Team, a person in a full Guide Dog mascot costume, etc.). I stopped to walk a few times, but as a whole, I was able to jog for most of the race. All three of us finished with personal records (mine was a PR because it was my first race). It was a beautiful finish!  There was even a rainbow at the end. 


I don't know if I could be more proud of us.

I felt so encouraged by our performance, that just a few weeks after the race I somehow convinced our crew to run another. The next race was just one month later and is called the Great Birmingham Run. I was excited that our team would be able to do another race together before Katie moves back to the states. Also, Alisha committed to running this one with us. As you may remember from my last post, she had trained with us for the last one but was unable to run with us because she was out of town. In fact, on the day of the Great North Run, she ran 8.5 miles on her own... on vacation!  We all signed up. Because of the shorter notice, we all elected to run for ourselves rather than for a charity. We saw it as a celebration of our ability to run. I felt an enormous sense of camaraderie. We felt like such a group of badasses, that we actually put that on our shirt.  I mentioned in the last post about Calli being our biggest cheerleader. In fact, she was. She and Dan came all the way to Birmingham to cheer us on.  

This race was colder, but it was a beautiful autumn run. We all started together again. Katie and Alisha had a mission to see how fast they could go, but Karen opted to run the race with pokey old me! What a great friend. Running this race with another person was more motivating, and even though my feet were killing me, I had a blast! The leaves were changing and there was a lot of music along the race path. We ran by Cadbury World (tempting right?). Karen and I had a lot of bystanders cheer for us and call out our names specifically.
And... we hammed it up for the race cameras. At the finish line, the commentator actually called out our names. Also, I shaved nearly 10 minutes off of my previous time and couldn’t have felt more proud. It was such an emotional experience that I actually teared up a little after the finish. Katie, Alisha, Karen, and I shared a unique bonding experience with running, and I would never want to give up the memory of that day. And guess what... Calli and Dan decided to start running!  It was a win for everyone.


After the race with Calli's sign!
In the course of a few months, I feel transformed. Also, for the first race, my friends, family, and other kind people in my life helped me raise £442 for Leukaemia & Lymphoma Research. That is over $700 US dollars and nearly 150% of my goal. I feel humbled by and grateful for everyone’s generosity. There were so many times that I wanted to quit, but knowing that I was running for a charity and that I had so much support from my friends kept me moving. 

The best and most supportive team ever!


Isn't she inspiring? Rachel really is a changed woman. She used to HATE running (almost as much as I did/do). But her positive energy is infectious. Dare I say I'm starting to enjoy our morning runs? Thanks for stopping by, Rachel! 

Wednesday, November 7, 2012

200th Post!

Can you believe it? This is my 200th post! It seems like just yesterday I hit "publish" on the 100th post back in March. As a way of marking this occasion, let's look at some of my blog stats.
I am loving blogging way more than I thought I would. I am so grateful to you for sticking with me and taking an interest in my life. 

I'd love to hear from you. What would you like to see in the next 200 posts? Any new features you think would be fun? Drop me a line and let me know! And, seriously, thanks for reading!

Tuesday, November 6, 2012

Guest Post: Crayon Art!

Hi everyone! I'm still in Florida with my family, but my friend Katie is here to tell you about an awesome pinterest project she recently tackled. Take it away, Katie:

Hello Calli's awesome readers! I am here to tell you about the exciting world of Crayon Art! What is crayon art? Well I am so glad you asked. No it's not a cute little drawing your five year old made that is now hanging, in all it's glory, on your fridge. But rather a fun, colorful, EASY, new fad, that is all the rage.

Crayon Art is basically hot gluing crayons * crayola works best* to a canvas of any size. Then taking a hairdryer to the crayons and letting them melt down the canvas.

My husband and I recently celebrated our 2 year anniversary (woohoo!) and I thought this would make a creative gift :). I decided in the center of the picture I would put a silhouette of one of our engagement photos.

I printed the photo (shown here ) on computer paper , making it so that Jon and I were about 8 inches. From there I  cut it out using a single edge razor. (Heads up, that takes longer than you think haha).

I then  traced it on the center of the canvas. (I went with  a 16x20 inch size). Once traced I filled it in with a relatively new permanent black marker. The newer the marker the better, then  you don't end up with streaks in your silhouette.

From there I  took the 4 packs of crayons and sorted them in a rainbow pattern and hot glued them to the top of the canvas. Next I took masking tape and covered the silhouette so that the wax would melt around it and not cover it up. *I recommend not using masking tape. Painters tape might be best . The tape I used was quite old and the wax actually got underneath it messing up the silhouette. *

Now the fun part! I highly suggest laying down a tarp for this. Crayons can make a huge mess! I propped the picture up against a wall and took a hairdryer to the crayons. They began to melt immediately. You can have fun with the picture by changing the angle of the hairdryer which in turn will change the direction the crayon melts. After a few minutes you have this,


I had a lot of fun with this project but was not 100% pleased with the results. But it's so easy anyone can do it!

A few tips I've come up with:
  • Use strong new tape. Because the silhouette is marker you don't need to worry about the tape pulling anything off.
  • Although I enjoy the pattern of a rainbow I would not put purple and blue together again. The colors are so close it's hard to tell them apart. 
  • If you are OCD like me  ;) I would pay more attention to the placement of the crayons so that they are in a straight line. Alternatively you could glue the crayons to a second canvas and place that above the silhouette canvas. They way you can melt the crayons and the was will drip down onto the second silhouette canvas. And that way you wont have any actual crayons on the "painting"
So now that you see how easy it is you should grab some crayons and do one of your own :) .

Thanks for sharing Katie! Seriously, how amazing is that? I am so inspired by her work that I'm now searching through my wedding and engagement photos trying to find a good silhouette for this project. Should we all do one and meet back here to share our creations? 

Monday, November 5, 2012

Guest Post: Halloween Costume

Hi everyone! While I'm enjoying the sunny beaches of Florida, my friend Alisha is here to tell you about the awesome Halloween costume she made for her husband Blue.

Halloween costumes have never been something I've put much effort into.  They've always been  awesome costumes (Captain Jack Sparrow, Super Bock Woman, Zombie Branegans employee, Margot Tenenbaum...); just not timing consuming.  This year, Blue wanted to go as the Caterpillar from Alice in Wonderland, so I sewed my first Halloween costume.

The idea was a pullover costume made of felt with extra arms to wear over a blue hoodie, complete with small hookah...which, incidentally, we forgot at home. At least all the arms made it.


I decided to cut out and sew hands rather than stuff gloves. It was the cheaper option, and I really like the unexpectedly creepy outcome. 

Creepster hands
I wouldn't want to run into someone with these hands in a dark alley.
  

The body of the costume was easy; just like a large bag with a hole cut for the head.


Stuffing and attaching the arms/hands to the body was a bit more of a pain, but after a few choice words and grumbling, I got it. 


 The finished product:


I also made some cookies to hand out to people. Side effects have yet to be determined, but so far, we haven't had any major growth spurts or losses. Whew. Another successful Halloween in the bag.


I saw the costume in person, and it was absolutely incredible. The arms all moved! Blue had a lot of fun with that all night, claiming he wasn't meaning to grope people as they walked by. I'm not sure I believe him, but I'm glad he enjoyed all the hard work Alisha put in to his costume. Thanks for sharing Alisha!

Thursday, November 1, 2012

Welcome to Miami

It can't be just me who hears Will Smith's Welcome to Miami in my head when I think of Miami, right?


As you might have guessed, I'm off to Florida for the week to get some much-needed sunshine. I'll be in Jacksonville for the weekend visiting my college roommates Heidi and Katie. I absolutely cannot wait to meet Heidi's baby Tessa for the first time. I haven't seen these girls since before I moved to England when we all met at Katie's house to meet her newborn Austin. Unfortunately Megan can't join us. We'll miss her!

Heidi, Megan, me, Katie and Austin, 2011
 
After what I'm sure will be a weekend that goes by WAY too quickly, Heidi, Tessa and Mike (Heidi's husband) will take a road trip with me down to the Miami area. I'll be meeting my in-laws, my parents, my sister and Dan for Fakesgiving!

You know Fakesgiving, right? It's one of my favorite holidays. It's when you have a fake Thanksgiving that looks just like the real thing but is on a different day so that everyone can be there. It works great for families who live long-distance and don't want to/can't travel on real Thanksgiving.

This will be the first time since our wedding four years ago that our families have all been together. Everyone is really looking forward to it!

Don't worry though. While I'm sun-bathing, there will still be plenty happening on the blog. I've wrangled a few guest posts for you that will really inspire you with their creativity.

See you when I get back!