Perhaps this puts me on the wrong side of crazy, but I absolutely love my new homemade snack bags. It's OK if you want to make fun of me. My family is already giving me plenty of grief. I have to say though, this might be one of my favorite projects so far. They're just so cute and practical! I'm already planning to make a bunch more.
I first got the idea from Pinterest, of course. Dan and I go through a ridiculous amount of ziplock sandwich bags since we make our own lunches every day. We usually use around two or three each for things like cut veggies; cheese and crackers; and nuts and raisins. I was sick of all the waste and these bags from Owen's Olivia seemed like the perfect solution.
My first step to making my own bags was to pick out the fabric. I decided to stray a bit from the tutorial and use vinyl for the inside lining. That way I could put in messier items (like veggies) and not worry about staining or bleeding through. I am really happy with my choice, but it did make the bags a bit harder to make than if it were just fabric. I also used a fairly stiff linen for the outside. The combination of fabrics meant that I didn't need to use interfacing.
I prewashed and ironed the linen fabric. Then, using a sandwich bag as a template, I cut one piece of the linen and one piece of vinyl, doubling the width of each (you'll fold them in half to create the bag).
I cut a piece of sew-in velcro to half the width of my fabric; since the bags will be folded in half, these pieces will join to seal the bag. Then I sewed one of each side (hooks and eyes) half an inch from the top of vinyl. I created a 1/4 hem on a long edge of the linen. When the sides are eventually joined, this will create a finished look for the top of the bag.

From here on out, it's pretty much just like making a regular bag (see my lined bag tutorial). Place the two fabrics right sides together, and sew across the edge with the velcro and hem.

Then I forgot to take any more pictures while making this bag, so we'll pick it up with the second set of bags I made. Everything's the same but the outer fabric is yellow instead of blue. Fold the fabric in half vertically and sew three edges, leaving the top of the vinyl open.

Flip the whole thing inside out so the right sides of the fabric are now showing. Then sew the vinyl edge closed.

This is where it gets a bit hard with the vinyl, but shove the vinyl lining inside the linen so the velcro part is now at the top of the bag.

These bags are totally customizable--make them in a variety of sizes to fit your needs. And, the best part is that they're machine washable! I throw them in a delicates bag and right into the wash. I've already washed them a few times and they're holding up great. They work just as well as ziplock bags and are way cuter :)

 |
| DIY snack bags |
I first got the idea from Pinterest, of course. Dan and I go through a ridiculous amount of ziplock sandwich bags since we make our own lunches every day. We usually use around two or three each for things like cut veggies; cheese and crackers; and nuts and raisins. I was sick of all the waste and these bags from Owen's Olivia seemed like the perfect solution.
 |
| [source] |
My first step to making my own bags was to pick out the fabric. I decided to stray a bit from the tutorial and use vinyl for the inside lining. That way I could put in messier items (like veggies) and not worry about staining or bleeding through. I am really happy with my choice, but it did make the bags a bit harder to make than if it were just fabric. I also used a fairly stiff linen for the outside. The combination of fabrics meant that I didn't need to use interfacing.
 |
| Linen and vinyl |
I prewashed and ironed the linen fabric. Then, using a sandwich bag as a template, I cut one piece of the linen and one piece of vinyl, doubling the width of each (you'll fold them in half to create the bag).
I cut a piece of sew-in velcro to half the width of my fabric; since the bags will be folded in half, these pieces will join to seal the bag. Then I sewed one of each side (hooks and eyes) half an inch from the top of vinyl. I created a 1/4 hem on a long edge of the linen. When the sides are eventually joined, this will create a finished look for the top of the bag.


Then I forgot to take any more pictures while making this bag, so we'll pick it up with the second set of bags I made. Everything's the same but the outer fabric is yellow instead of blue. Fold the fabric in half vertically and sew three edges, leaving the top of the vinyl open.

Flip the whole thing inside out so the right sides of the fabric are now showing. Then sew the vinyl edge closed.
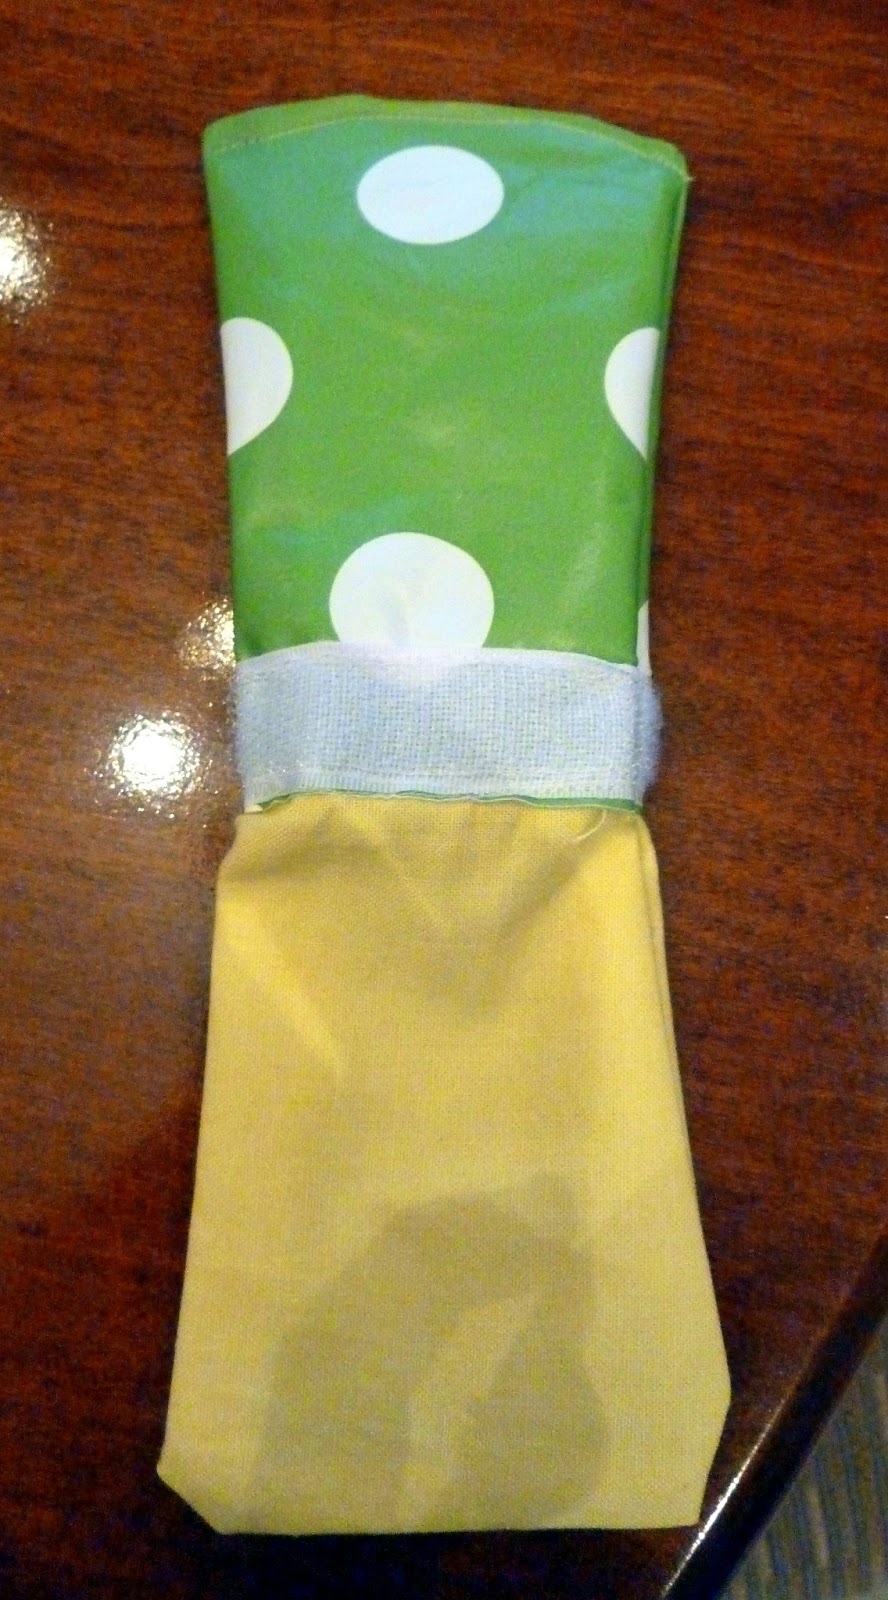
This is where it gets a bit hard with the vinyl, but shove the vinyl lining inside the linen so the velcro part is now at the top of the bag.


No comments:
Post a Comment